Month: December 2015
Computer or SD Card to Print
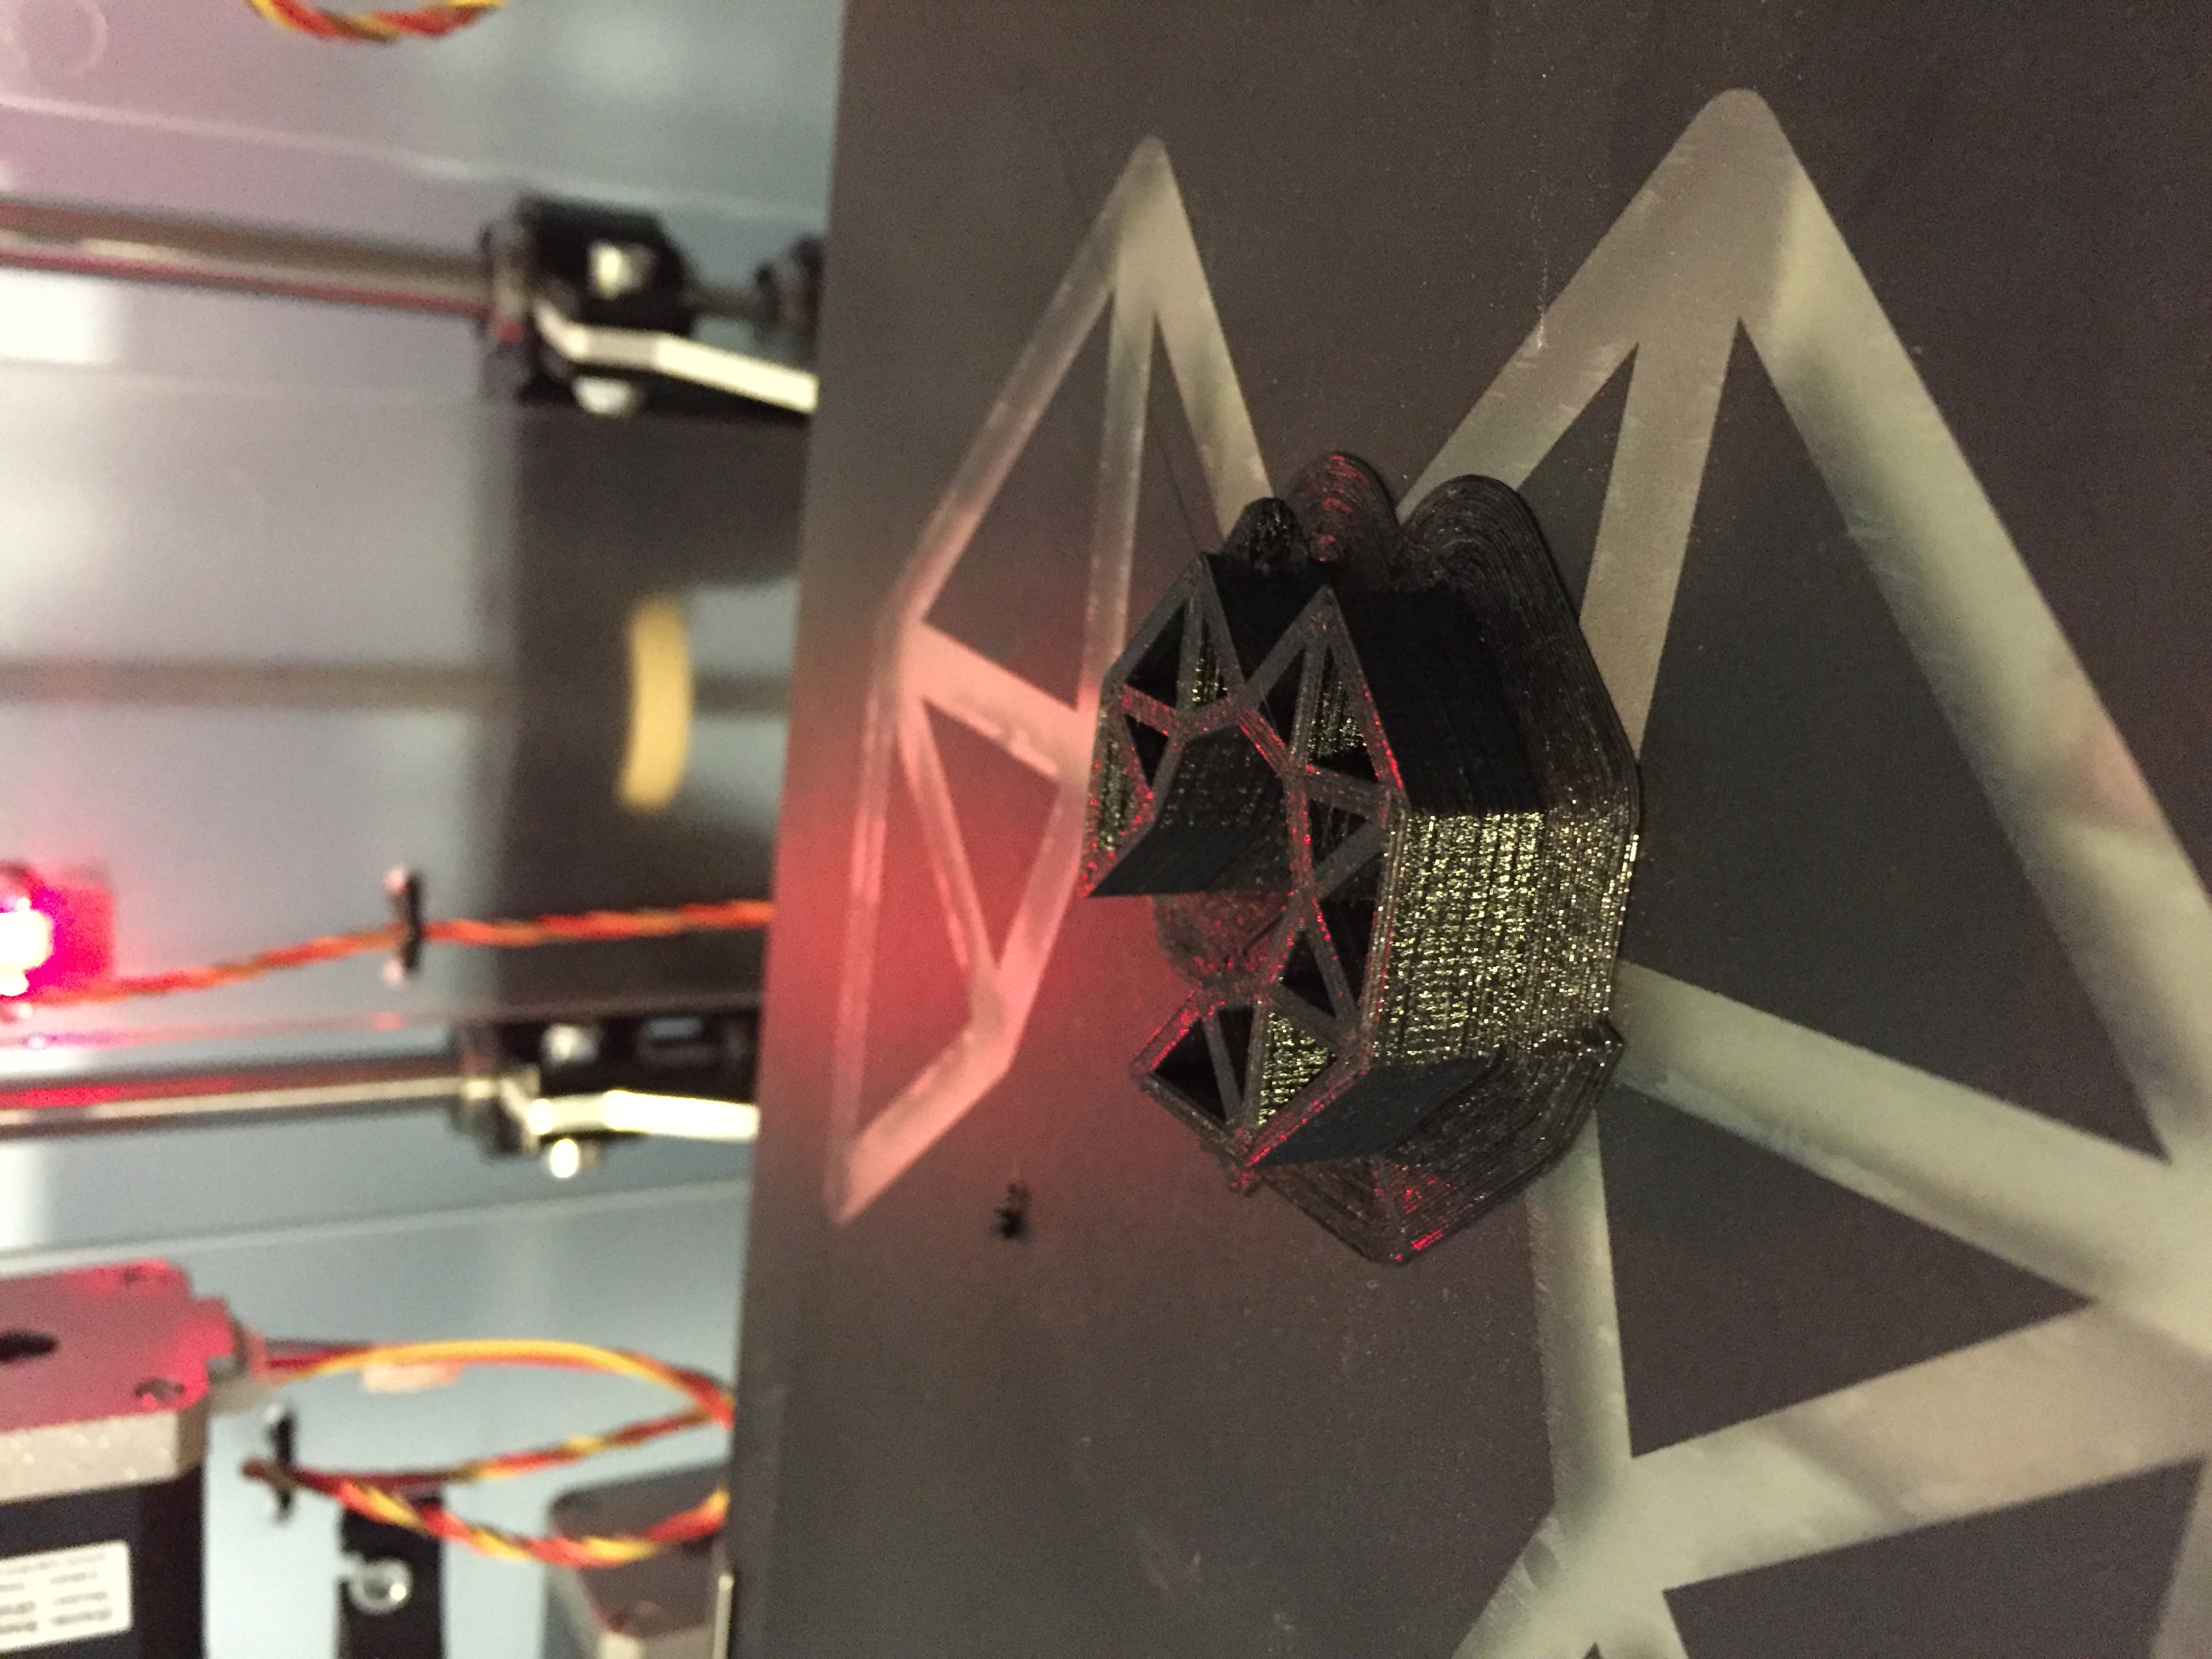
Initially I have used the computer to print and monitor the prints progress however I think the slow computer &/or the increase in data flow was slowing the print somewhere. I noticed the print head stopping momentarily during the second and third layers, leaving blobs of plastic just before if ripped the whole print off the bed. Once I had checked the sliced G-code to see if it was normal (it isn’t) I decided to save the exact same G-code to an SD-card and see if that helps….
It’s currently on 88% looking good so far.
First Print
I removed the print head from the printer, measured the distances as per the vertex instructions, guess what, perfect. When re-assembled I noticed that when inserting the second rod on the x & y axis (rod into the frame bearing that is) the rod naturally wanted to be either further out or further in.
With that, I set about sliding that rod in and out and gently moving the sliding block on the end of the print head rods until it was just perfect for both axis.
I used the alignment tools to hold the rods parallel while tightening the belts and pulleys (belt gears on the shafts with grub screws) a little oil and that’s that.
Tools have arrived
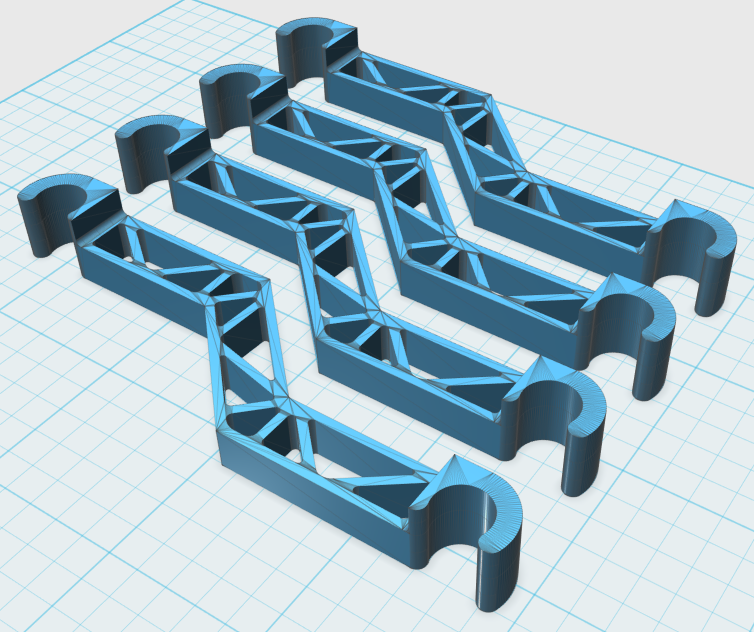
 Printed alignment tool – now to align the axis properly
Alignment Tools
 After a short period of major shifting between print layers of the first couple prints. I decided to order some tools to align the print axes properly once and for all. I am waiting in anticipation for today’s post !