Heated Bed Installed!

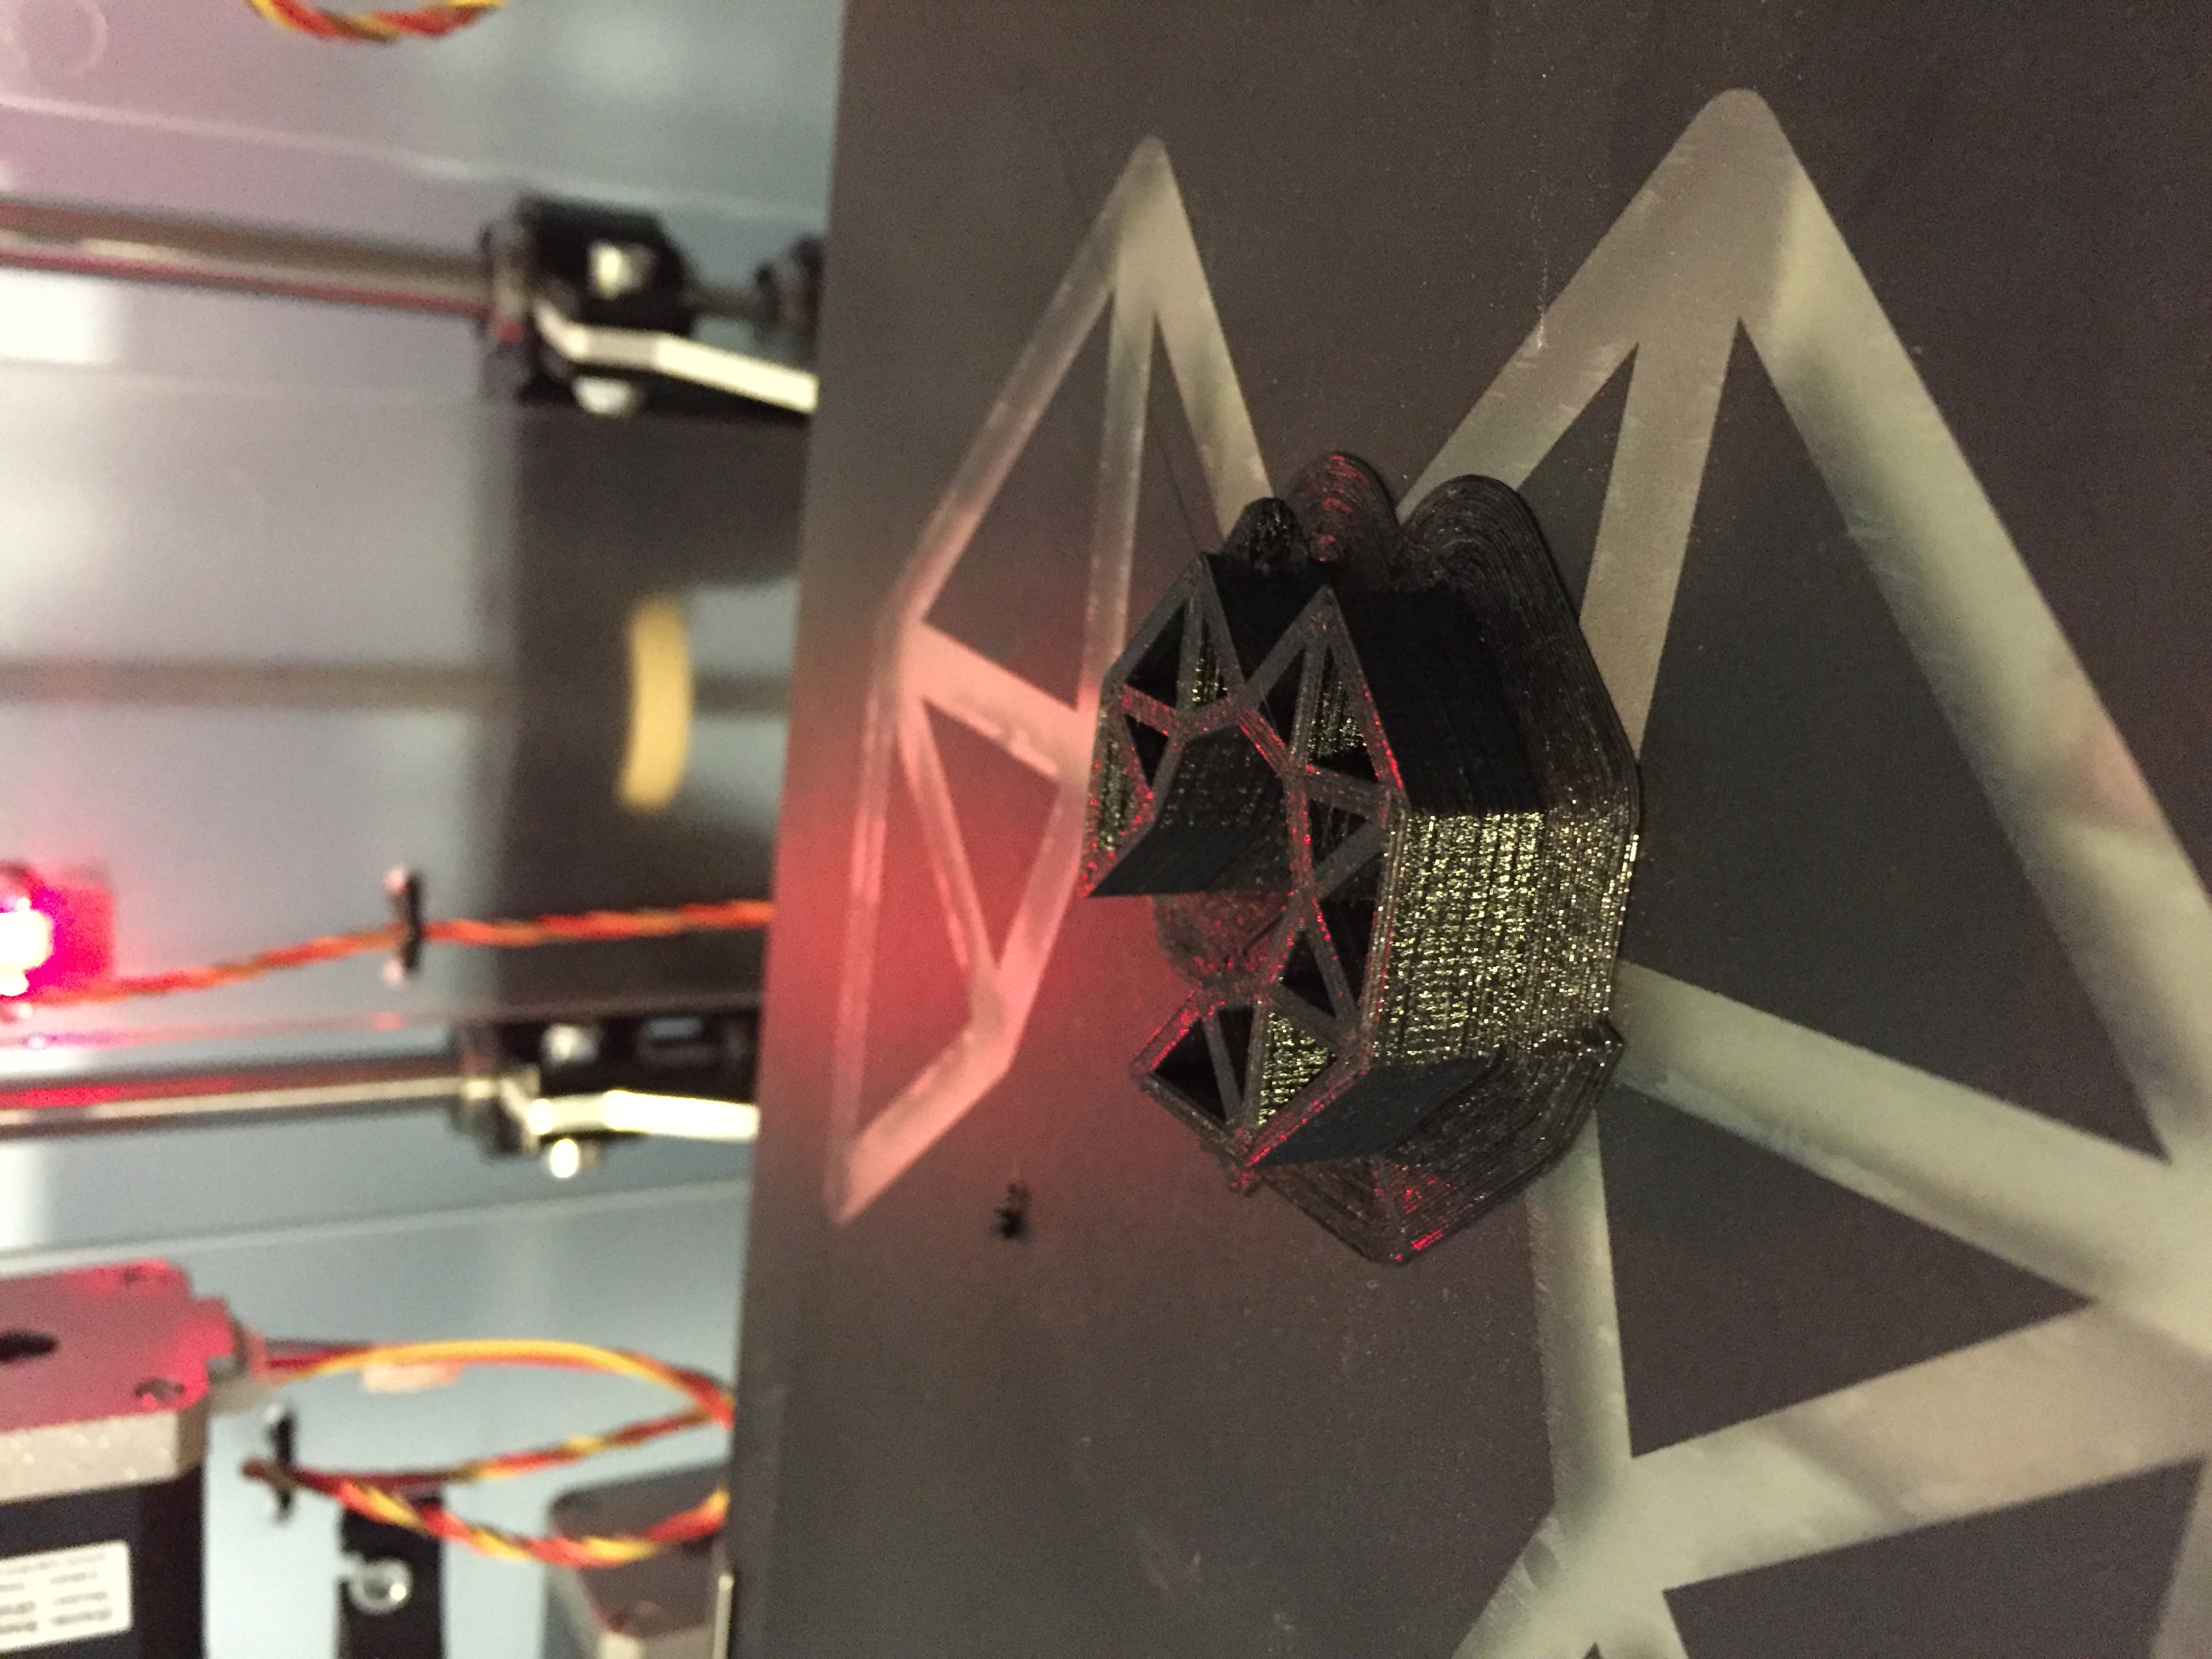
So after many years (& two new children) I have finally installed the reprap mk3 heatbed with dedicated 24v power supply using a power expander. For the benefit of anyone reading this before embarking on this task. Firstly, do not bother with the smt thermistor. I tried and failed to solder the microscopic thing to the bed, it was giving a reasonable temperature reading, but then caused issues when the power was switched on for the bed. Plus it is at the back edge of the bed and not where you really want to be measuring the temp. I can only assume it had some sort of short. Instead I opted for a 100kohms generic wired thermocouple from amazon. The glass ball fit easily into the hole in the middle of the heatbed and is taped to the bottom of the cork insulation. First print with PLA using a heatbed temp of 50 degrees turned out really well with no separation of the raft. I’m hopeful that I will be able to use a brim and print directly to the bed in future to achieve the silky smooth print finish.

Interestingly, once finished, I noticed a cracking sound of the print separating from the bed at only 45 degrees, I was then able to remove it easily. I think this indicates how important it is going to be to maintain the temperature of the bed. I also had the front extruder fan turned off.

Alignment Issues…SOLVED

I always thought the alignment was slightly out on my k8400. But it was producing parts with good a surface finish and dimensions etc. So I left it…

The other day I was blighted by a massive mid print layer shift ~9hours into a 12hr print 😡

So I decided it was time to sort it out. I loosened all pulleys and belts & had the rods out. I adjusted the distance between the iglidur bearings on the x & y carriages as mentioned in the wiki page (I didn’t use a hammer!) just a twist and wiggle etc did it. I won’t sugar coat it, it took ages. Possibly due to my prior negligence of the missalignment issues there was slight play in either the iglidur bearings or the central brass bearing. As such it was difficult to know if it was the perfect distance was achieved. When printer was tilted at ~45 degrees, a slight touch of the carriage would send it sliding to the bottom. At that point I determined it was acceptable. Certainly much better than it was before!

My advice deviates from the wiki at this point. For each axis: 

  1. With the belts and pulleys lose, fiddle with the pulleys so the grub screws are accessible, then tension the belts. 
  2. Move the carriage back and forth to distribute the tension throughout the belt (allowing the pulleys to swivel)
  3. Attach the alignment tools to the axis
  4. Tighten the pulley grub screws

It turns out, that the most significant reason  for this later shift was actually due to the stepper motor pulley grub screw coming lose 😞. Anyway, the printer has performed admirably since this re-alignment.

Quick Update

Some brackets / clips to support my hammock frame on the bike rack of my campervan.

So there’s been a lot going on over the last few months, however, printing has continued even if updating this page hasn’t. The k8400 is performing admirably. Yesterday’s print finished after 18hrs46mins. Perfect 😀

I will try and make time to add more posts…

Computer or SD Card to Print

Initially I have used the computer to print and monitor the prints progress however I think the slow computer &/or the increase in data flow was slowing the print somewhere. I noticed the print head stopping momentarily during the second and third layers, leaving blobs of plastic just before if ripped the whole print off the bed. Once I had checked the sliced G-code to see if it was normal (it isn’t) I decided to save the exact same G-code to an SD-card and see if that helps….

It’s currently on 88% looking good so far.

First Print

I removed the print head from the printer, measured the distances as per the vertex instructions, guess what, perfect. When re-assembled I noticed that when inserting the second rod on the x & y axis (rod into the frame bearing that is) the rod naturally wanted to be either further out or further in.

With that, I set about sliding that rod in and out and gently moving the sliding block on the end of the print head rods until it was just perfect for both axis.

I used the alignment tools to hold the rods parallel while tightening the belts and pulleys (belt gears on the shafts with grub screws) a little oil and that’s that.

Alignment Tools

alignment toolsAfter a short period of major shifting between print layers of the first couple prints. I decided to order some tools to align the print axes properly once and for all. I am waiting in anticipation for today’s post !